ByteBlower Endpoint App: IP Interfaces
| Introduction | This article covers how to select the desired IP interface on your endpoint device. In the Wireless Endpoints App, by default the IP interface address reported on the GUI/HTML Report is determined by the order in which the device presents them. The application takes the first IP address from the listed IP interfaces. |
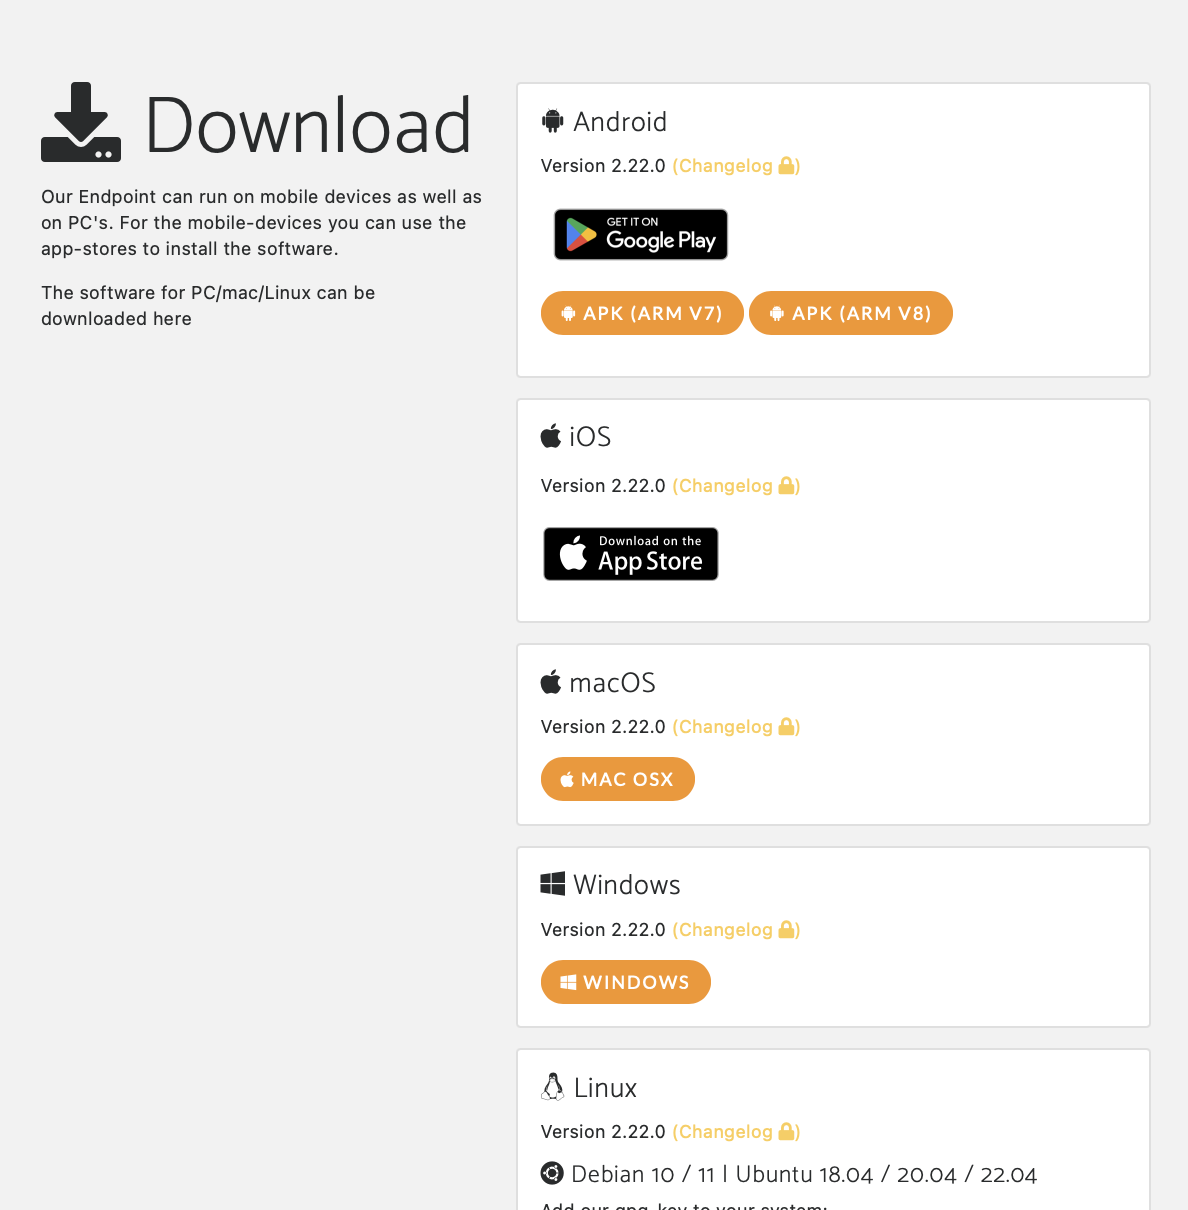
| Download the App | First, download the app onto your wireless endpoint. Visit our Byteblower Wireless Endpoint setup site and select the supported OS version for your device.
|
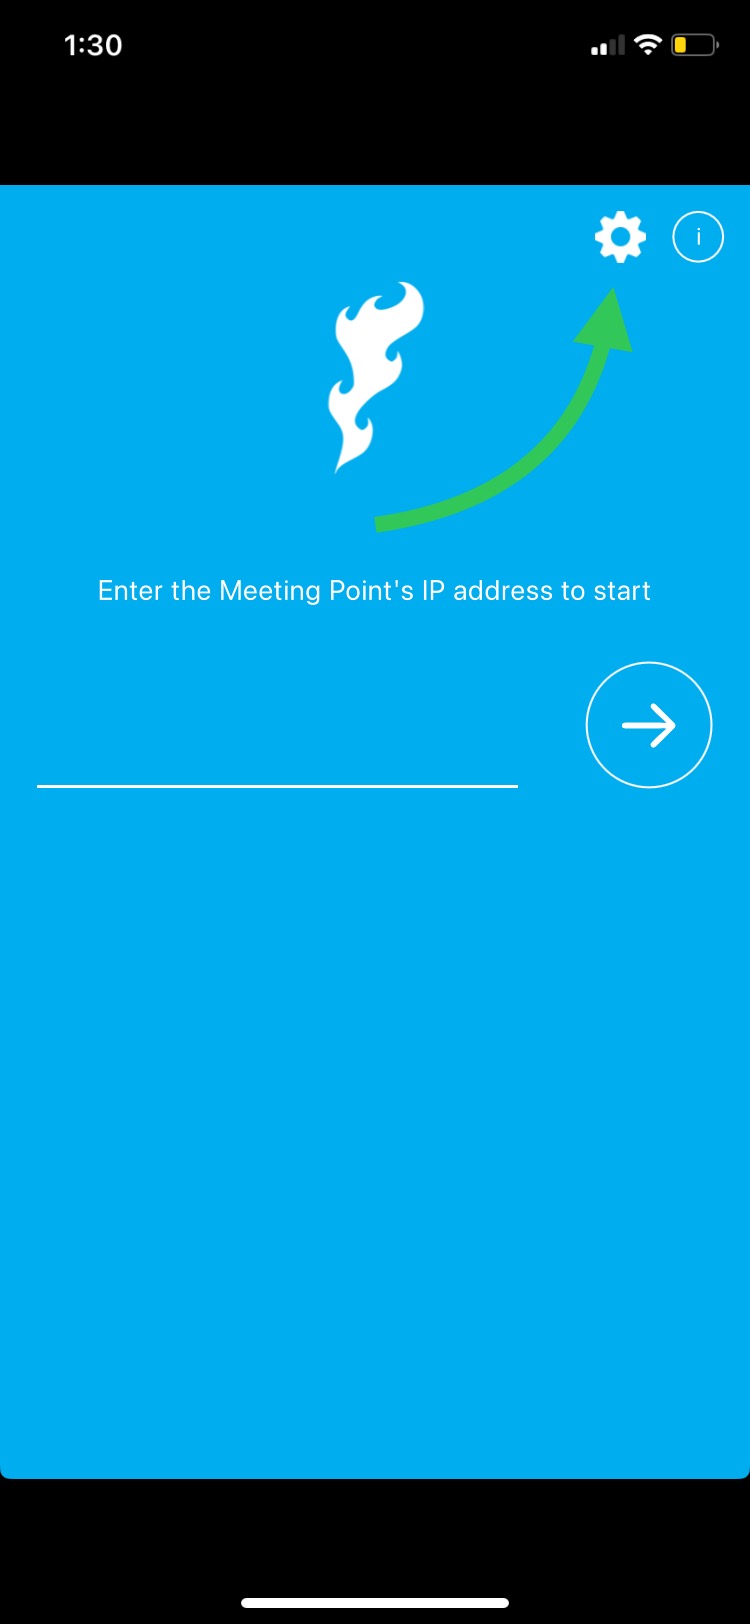
| Open the App | To select the desired IP address from the available interfaces on the wireless endpoint. Open the app.
|
| Config Wheel | Select the configuration wheel on the top right.
|
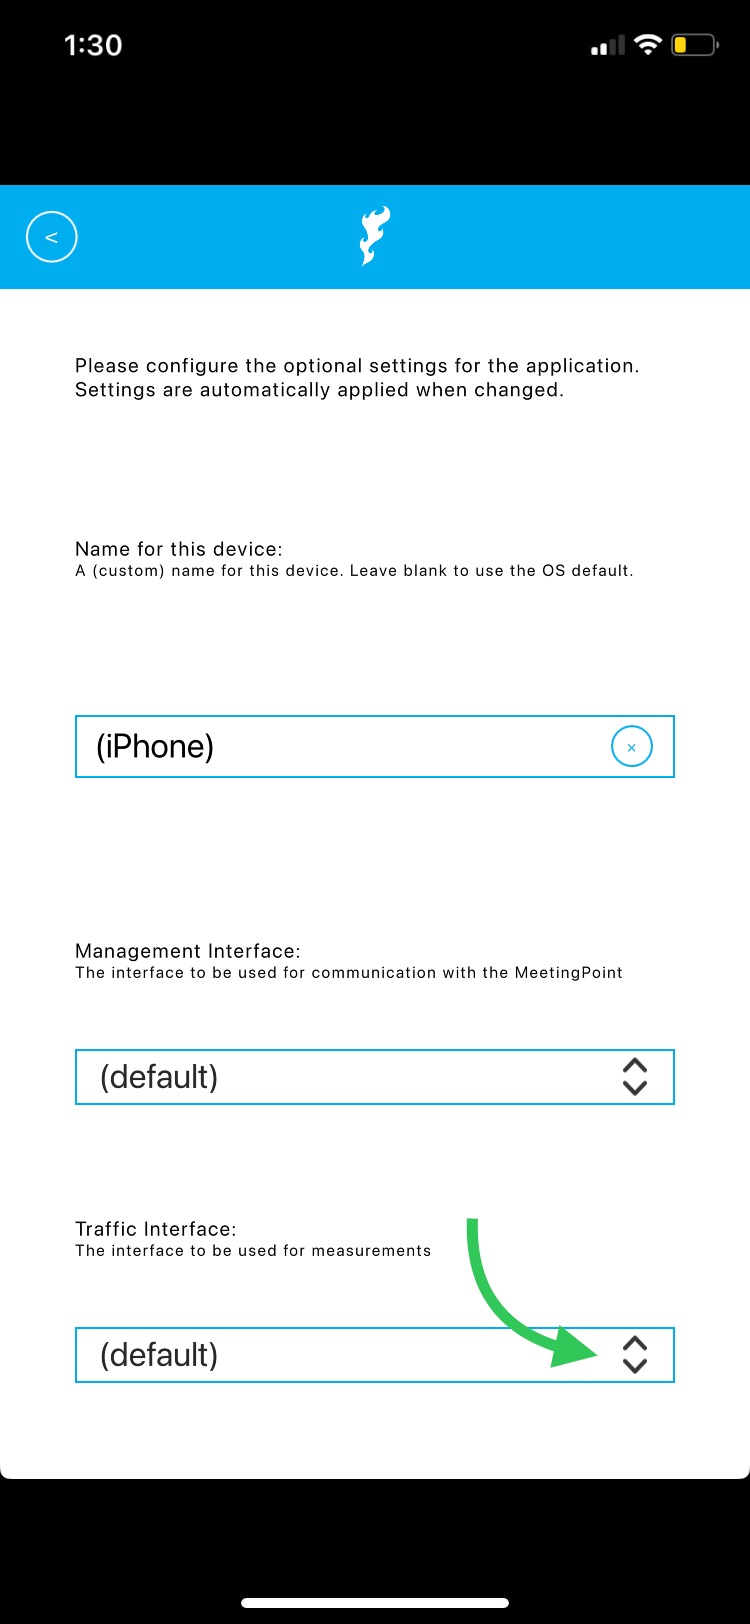
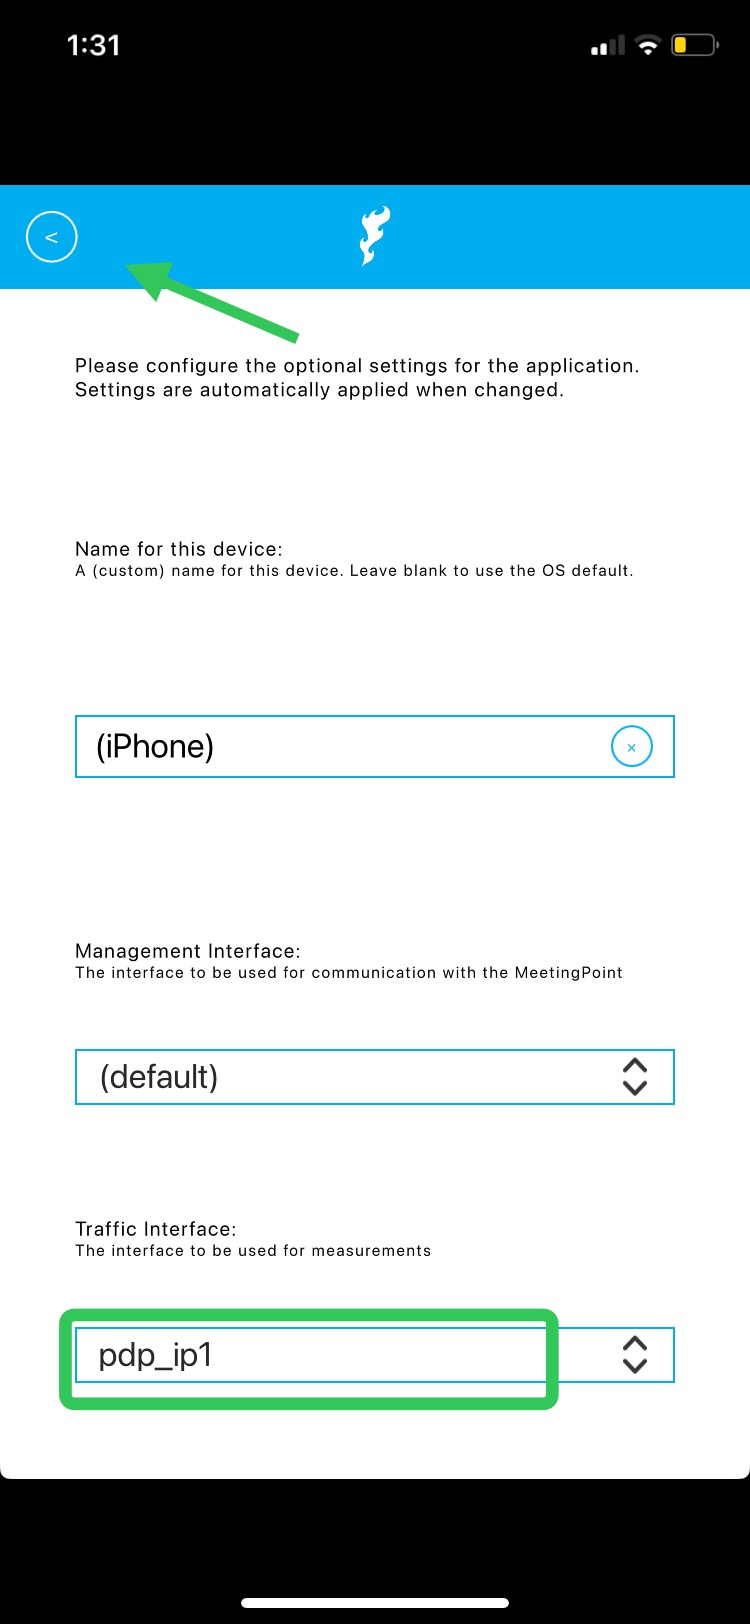
| Traffic Interfaces | Scroll down and select the Traffic Interface drop down.
|
| Select Traffic Interface | Select the desired traffic interface to be used in the HTML report. Leave the management interface on default (recommended) unless intended in your test case. Go Back using the top left button.
You will see the selected interface now visible in the Traffic Interface box. |
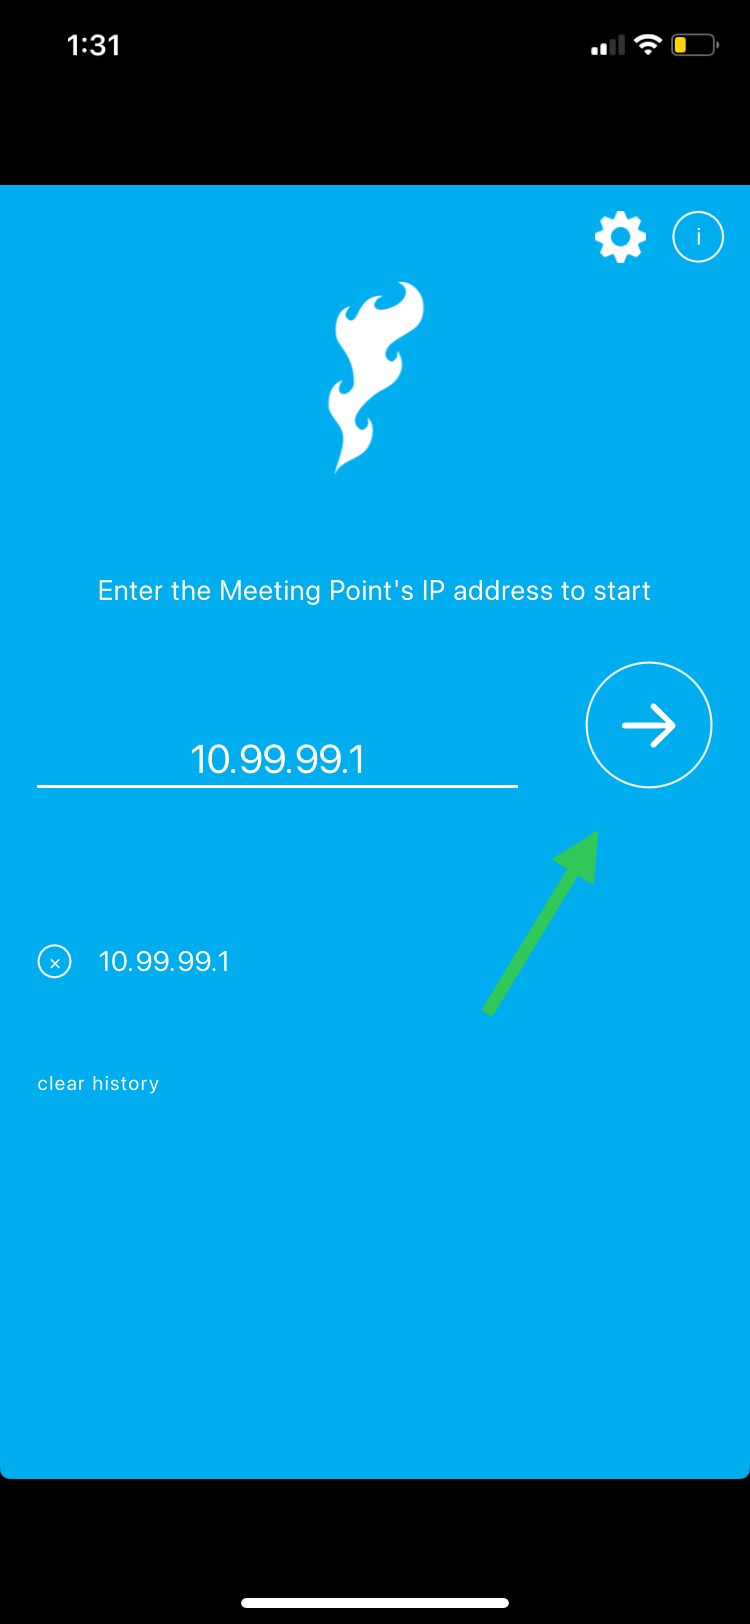
| Connect to your Meeting Point | Connect to your Meeting Point. Now you are ready to run test on your Wireless Endpoint and will get the intended IP Address in your reports.
|
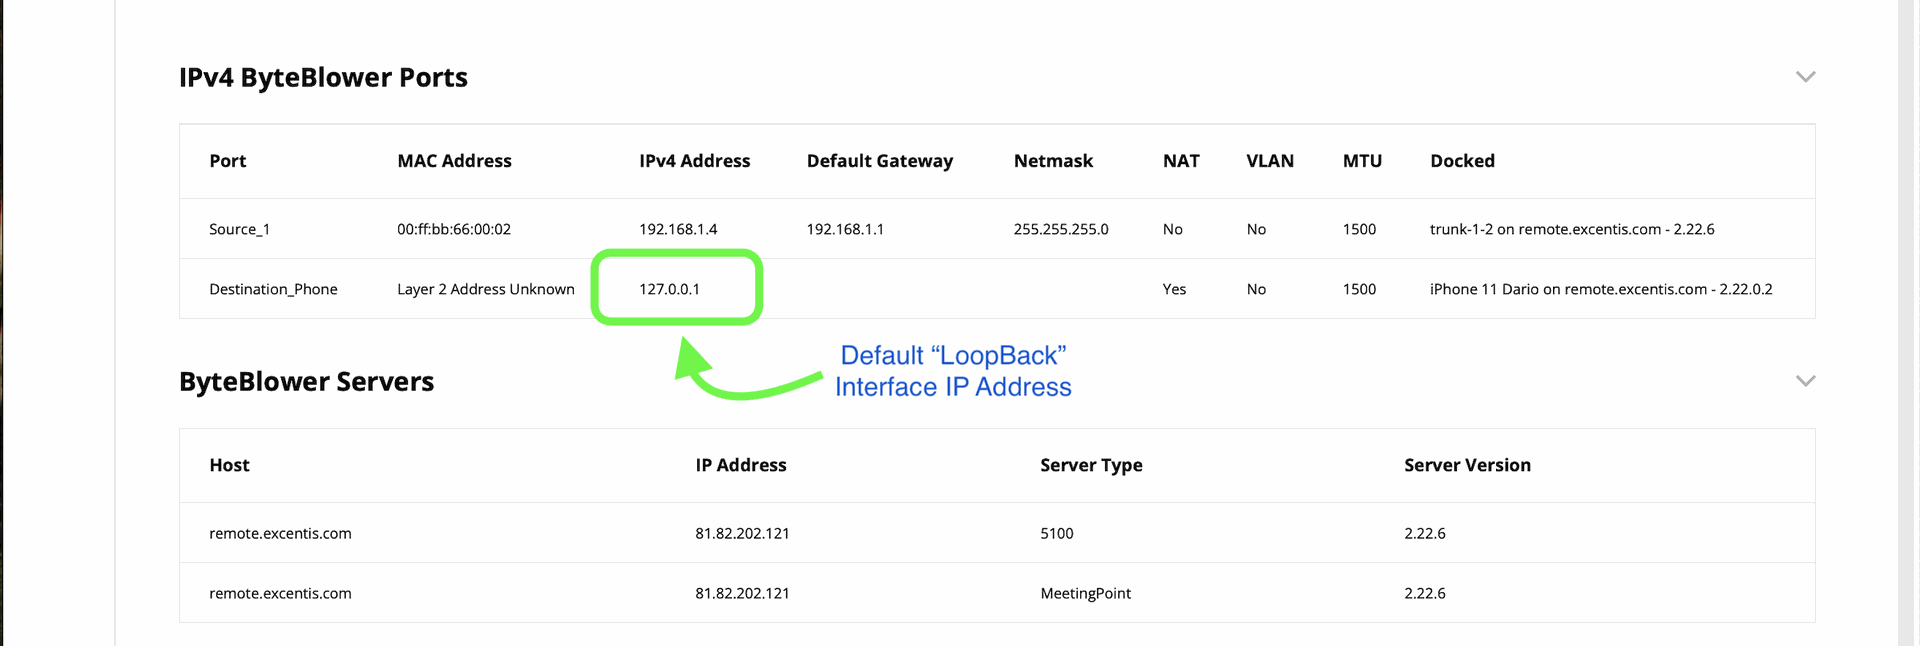
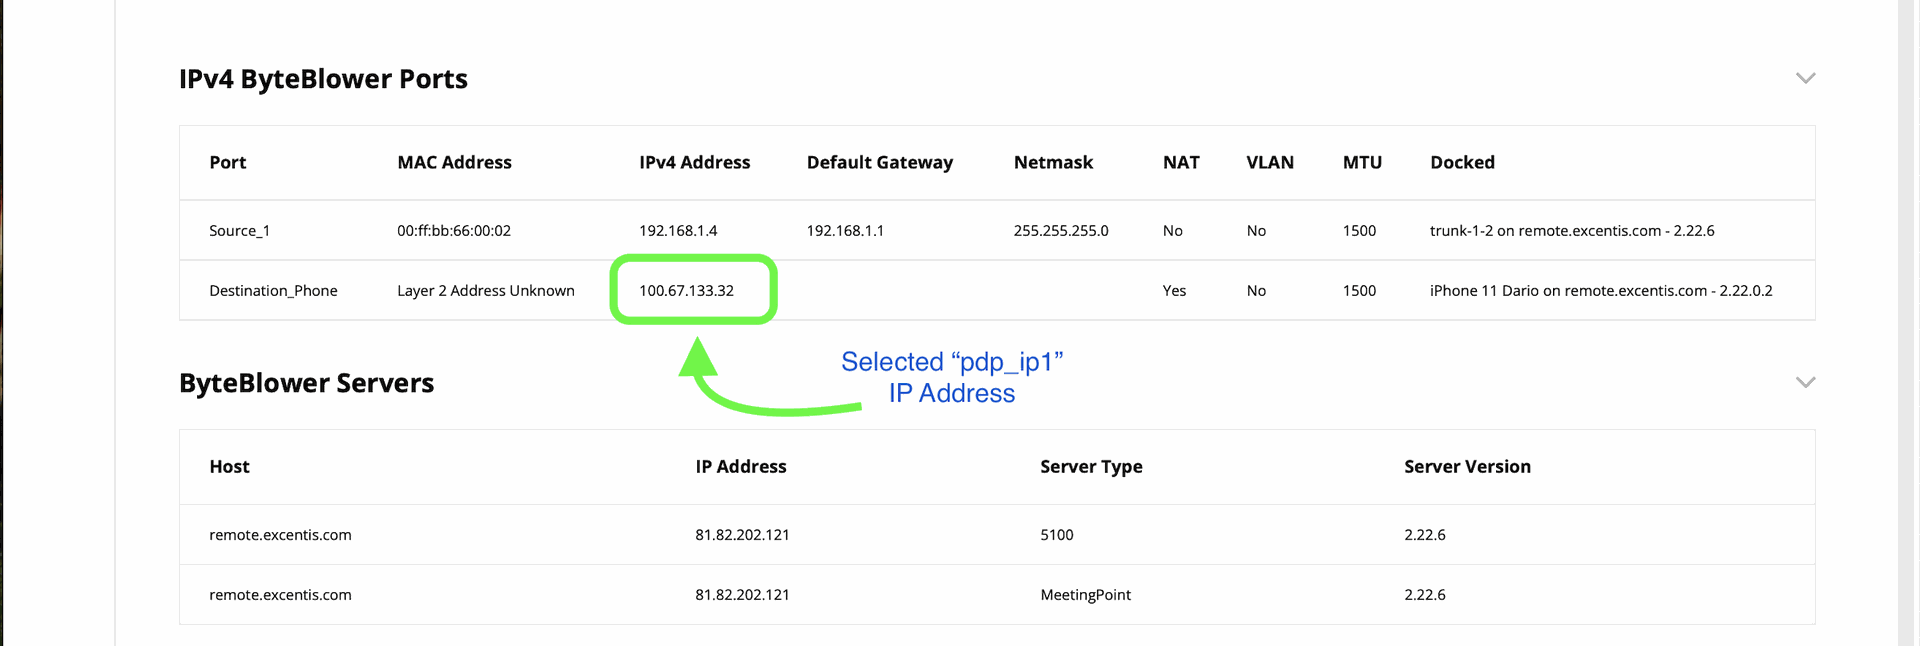
| Results | Your Port View in the GUI and HTML report will now reflect the selected traffic interface IP Address instead of the possible loopback address that was previously reported.
Before selecting a traffic interface, the LoopBack address (127.0.0.1) was utilized.
After selecting the desired traffic interface. The selected pdp_ip1 (100.67.133.32) address is now utilised in the Report and GUI port view. |
